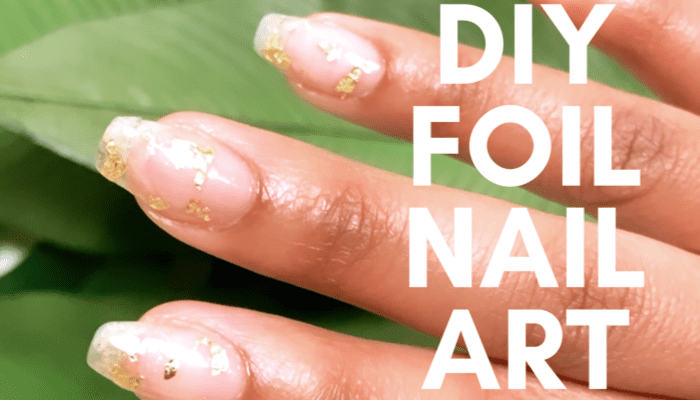
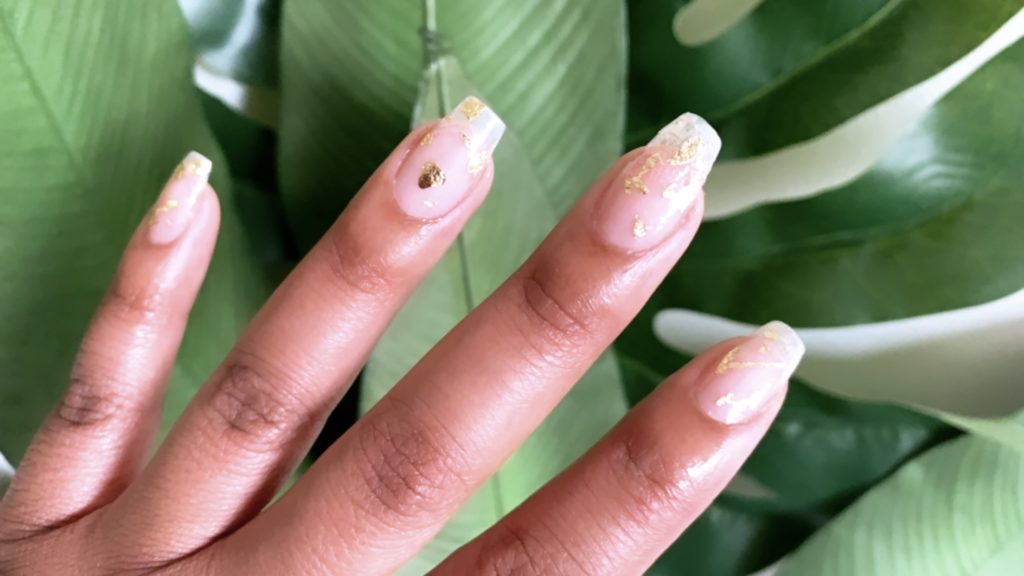
Becoming a DIY nail pro has never been more clutch than it has while in quarantine. While many women are stressing out on their overgrown gel sets and missing nails, there are some opting for a drug store or custom press-on nail kits online. There are so many options to keep your hands and nails looking flawless and if you’re the do-it-yourself type, I’ve perfected a quick and easy nail tutorial that will have your nails looking salon ready even while you’re stuck at home.
Step One: Nail Prep
Make sure you’re working with a clean set of nails. That means, soak off those old gel or acrylic nails with acetone. I like to soak my hands in a little soapy water and immediately apply oil to my cuticles (avoiding the nail bed itself) since acetone can be extremely drying to your nails and hands.
Step Two: Nail Shape
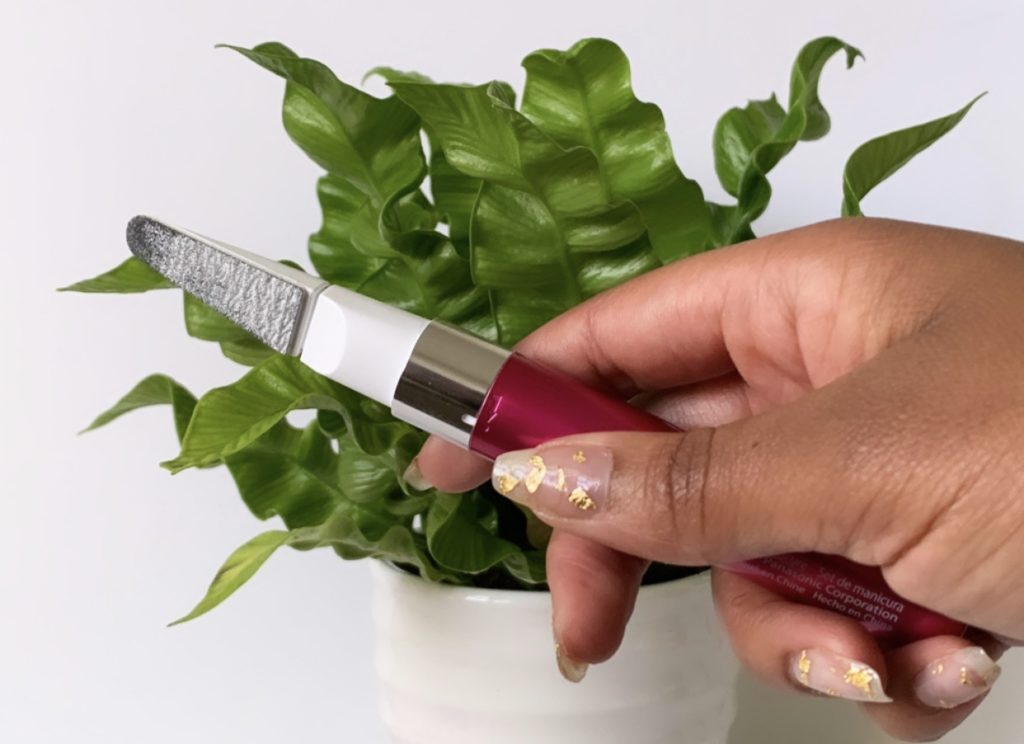
Use Dip Powder Nails, a nail clipper, and a file to create your preferred nail shape. I have stubby hands (Thanks dad. He’s a pianist/avid softball player and has massive hands that resemble Mickey Mouse gloves or The Hamburger Helper) so I like my nails long with slight coffin shape. After using biotin for about a month, my nails have strengthened and grown since cutting them down in April. I’m finally at my desired length and use my Panasonic electric nail file to buff and shape my talons to perfection. Get your electric nail file here.
Step Three: Base Coat
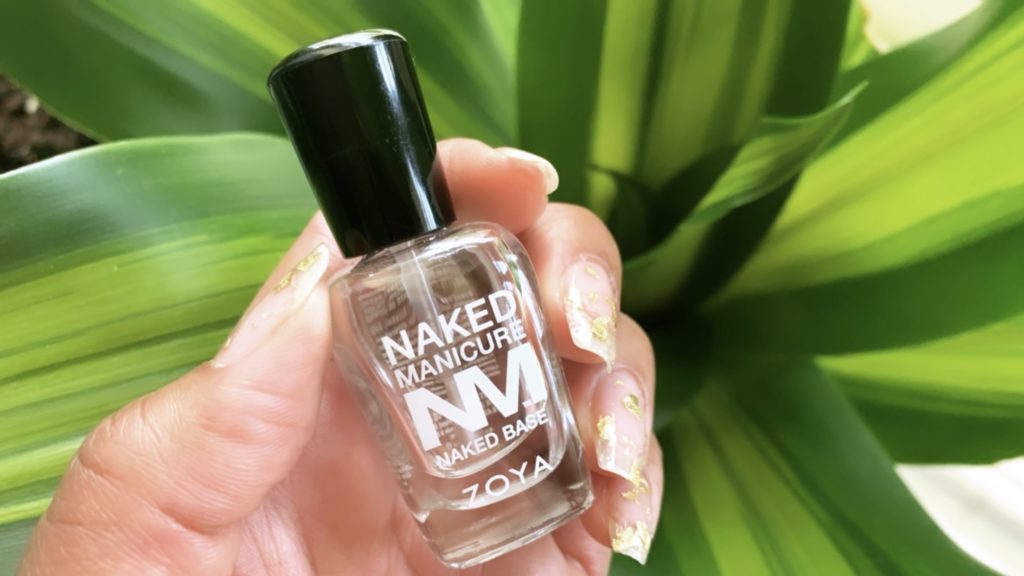
It’s all about the polish. I have a gel kit somewhere around the house, but I’m opting for coats of clear polish instead. I love Naked Manicure – Naked base by Zoya. It provides a clear, crisp shine that builds and dries quickly. Start with a base coat, let it dry for about a minute, and add a second coat for good measure. Your base coat serves as a good way to even out your nail bed and covers up any imperfections that would prohibit the smooth application of your gold foil in the next step. Get your polish here.
Step Four: Gold Foil Application
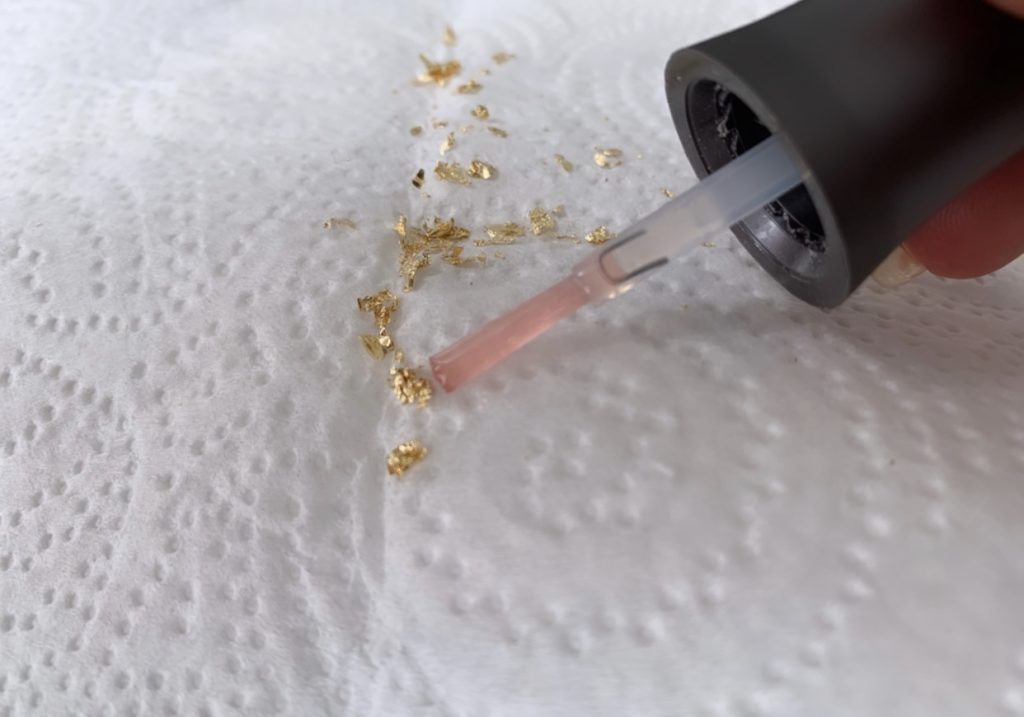
Bing on the gold leaf foil. I found this foil on Amazon for about $7 bucks and it’s amazing! It comes with multiple sheets of gold foil used for arts, crafts and is perfect for elevating your basic manicure to a new level of fly. Removing one sheet from the package, I cut the sheet in half with scissors, placed it on a sheet of paper towel, and used tweezers to divide the foil into smaller abstract pieces. Make sure you don’t go too small or your foil will start to look like specs of glitter and that would completely defeat the purpose. Once you have a variety of shapes and sizes of foil you’re ready to add it to your nail using the nail polish brush. Add another clear coat on your nails and use the brush to lift the gold leaf from the paper towel and add it to your nail. This is abstract nail art, so you can add as much or as little foil as you’d like. Get your gold foil here.
Step Five: Polish (Again)
It’s all about the polish: The remix. After you’ve added your foil to all of your nails, you need to add a few more coats of clear polish to seal in the design. I take a few days to add multiple coats to mirror the thickness and protection of a gel or acrylic set. Once you’ve added enough clear coat protection, that’s it. You have a DIY manicure for much less than a salon visit. What do you think? Are you planning on rushing to the nail salon once it reopens or are you becoming more of a DIY manicurist and ready to handle your nail care at home?
